-> SQL Server 2019 installation will be performed on a Ubuntu Azure Virtual Machine.
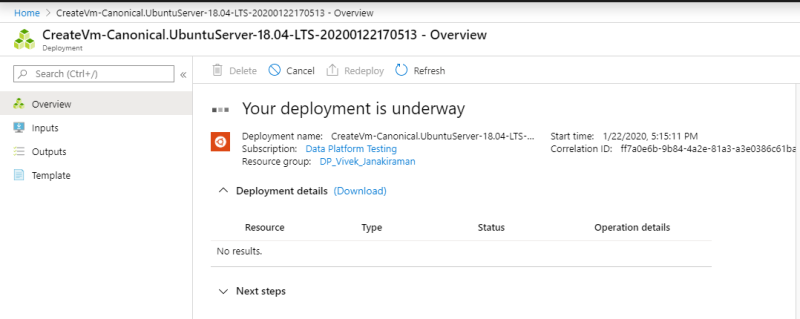
-> Provisioning an Ubuntu Server 18.04 LTS Azure Virtual machine.


-> NIC network security group will be set to None as this is a test instance. Appropriate configuration will be required for production server


-> Install Putty from https://www.chiark.greenend.org.uk/~sgtatham/putty/latest.html to login to the provisioned Virtual Machine and start the SQL Server 2019 Install.
-> From Azure portal open the virtual machine provisioned and click on connect. Make sure SSH tab is selected. Public IP address in the SSH tab will be used in the putty session to connect to the provisioned Virtual Machine,


-> Below command can be used to import the public repository GPG keys
wget -qO- https://packages.microsoft.com/keys/microsoft.asc | sudo apt-key add –
-> Below command will be used to register the Microsoft SQL Server Ubuntu repository:
sudo add-apt-repository "$(wget -qO- "https://packages.microsoft.com/config/ubuntu/16.04/mssql-server-2019.list)"
-> Below commands will be used to initiate the SQL Server 2019 install,
sudo apt-get update
sudo apt-get install -y mssql-server
sudo /opt/mssql/bin/mssql-conf setup
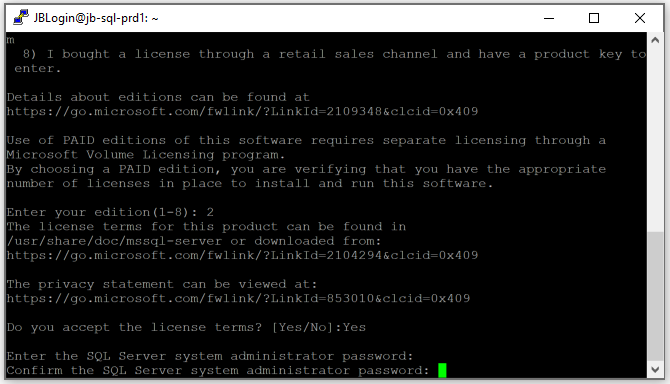
In Putty, Developer Edition is selected.

“License terms” should be accepted. SQL Server system administrator password should be provided. This will be the sa password.

-> Below command can be used to check the status of installed SQL Server,
systemctl status mssql-server --no-pager
-> Open SQL Server Management Studio and connect to the Installed SQL Server using Public IP address,


-> All SQL Server configuration can be performed from SQL Server Management Studio.
Thank You,
Vivek Janakiraman
Disclaimer:
The views expressed on this blog are mine alone and do not reflect the views of my company or anyone else. All postings on this blog are provided “AS IS” with no warranties, and confers no rights.